


Shoppable video has shifted from a nice-to-have to a core part of how ecommerce brands sell online. Adding “tap to buy” tags to the videos already on your site lets shoppers act on intent the moment it spikes — without leaving the player. This guide walks through exactly how to add shoppable videos to your website in 2026, with step-by-step instructions for Shopify and WooCommerce, placement strategy, product tagging, and how to measure whether it actually works.
What is a shoppable video, and why add one?
A shoppable video is a video clip with clickable product tags built in, so viewers can see a product in action and add it to cart inside the player. It removes the gap between inspiration and purchase. The payoff is measurable: websites with video convert at 4.8% on average versus 2.9% without — an uplift of over 65%, according to research compiled by Invesp.
Buyer behavior backs this up. In Wyzowl’s 2025 State of Video Marketing report, 78% of consumers said a short video is how they’d most like to learn about a product, and 87% said a video has convinced them to buy. Shoppable video simply removes the friction between that decision and the checkout. For a fuller picture of the category, see the ultimate guide to shoppable video for 2026.
What do you need before you add shoppable videos?
Before installing anything, line up three things: video content, a shoppable video platform, and a clear first placement. Skipping this prep is the most common reason early rollouts stall — brands install a tool, then realize they have no clips ready or no plan for where the videos go.
1. Source your video content
You rarely need to shoot anything new. The best-performing shoppable clips are 15 to 60 seconds long: product demos, how-to-use videos, unboxings, before-and-afters, and user-generated reviews. Repurpose what already exists — TikToks, Instagram Reels, creator content, and customer videos. The clip just needs to answer a real buying question.
2. Choose a shoppable video platform
A shoppable video platform handles hosting, the interactive player, product tagging, and analytics. Look for native integration with your store, lazy-loading for speed, mobile-first vertical playback, and built-in attribution reporting. Compare options on the Whatmore shoppable videos overview before committing.
3. Pick one starting placement
Don’t roll out everywhere at once. Choose a single placement — usually the product detail page — so you can measure its impact cleanly before expanding. Placement strategy is covered in detail further down.

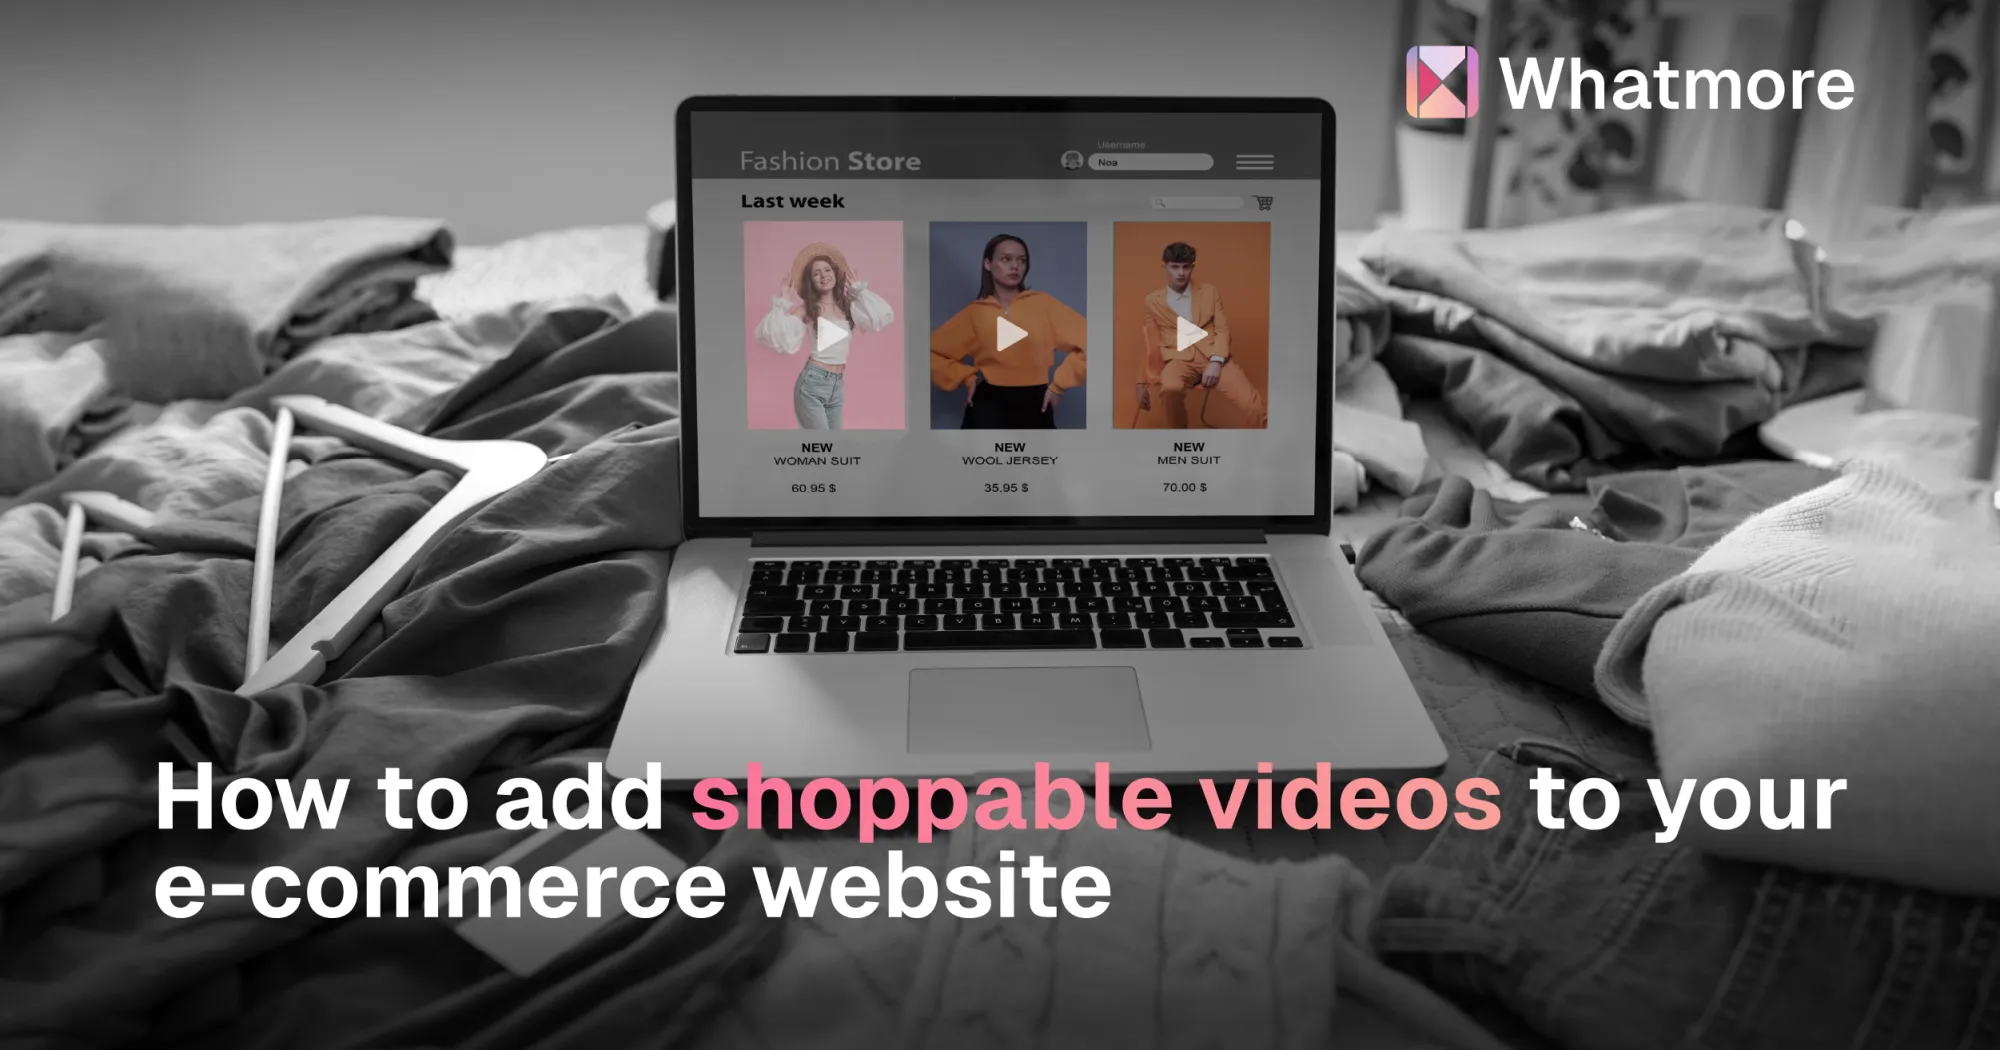
A shoppable video embedded on a product detail page, with the featured product tagged for instant add-to-cart.
How do you add shoppable videos to a Shopify store?
On Shopify, adding shoppable videos is an app-store install, not a development project — most brands are live within an hour with no developer. The platform’s app handles the player, tagging, and analytics, and embeds into your theme through a native block. Here is the step-by-step process.
- Install the app. Add a shoppable video app from the Shopify App Store and grant it access to your product catalog so it can sync titles, prices, images, and inventory automatically.
- Upload or import your videos. Drag in your clips, or connect Instagram and TikTok to pull existing content directly into the library.
- Tag products to each video. Search your synced catalog and attach one or more products to each clip. Tagged products appear as tappable cards during playback.
- Choose a layout. Pick the format for your placement — an inline player for the product page, a carousel for the homepage, or a floating widget.
- Add the block to your theme. In the Shopify theme editor, drop the app’s block onto the page where you want the video. No theme code required on Online Store 2.0 themes.
- Preview on mobile and publish. Test playback and tag taps on a phone first, since most ecommerce traffic is mobile, then publish.
For platform-specific notes on theme blocks, checkout sync, and Shopify Markets, see the Whatmore Shopify integration page.
How do you add shoppable videos to a WooCommerce site?
On WooCommerce, shoppable videos are added through a WordPress plugin that connects to your product database. The flow mirrors Shopify but uses WordPress blocks, shortcodes, or widgets to place the player. Expect a setup time of roughly 30 to 60 minutes for a standard theme.
- Install the plugin. Add the shoppable video plugin from the WordPress directory or upload it, then activate it and connect it to your WooCommerce store.
- Sync your product catalog. Authorize the plugin to read your WooCommerce products so pricing and stock stay accurate inside videos.
- Build your video library. Upload clips or import them from social channels, the same as on Shopify.
- Tag products. Link the relevant WooCommerce products to each video.
- Place the video. Use the plugin’s Gutenberg block, a shortcode, or a widget to embed the player on a product page, the homepage, or a landing page.
- Test caching and performance. WordPress caching plugins can interfere with dynamic players — clear the cache, then confirm the video loads and tags work.
Full setup details, including theme compatibility, are on the Whatmore WooCommerce integration page.

The four highest-impact places to put shoppable videos, each serving a different stage of the shopping journey.
Where should shoppable videos go on your site?
Placement determines whether a shoppable video drives revenue or just decorates a page. The four placements below each serve a different stage of the journey, and the strongest programs use a mix. Start with the product detail page, then expand once you have data.
Product detail page (PDP)
The PDP is the highest-intent placement: the shopper is already considering the product. A tagged demo or how-to-use video here answers objections at the decision point and lets buyers add to cart without scrolling away. This is the placement to launch first — pair it with the advice in how to build a winning product detail page.
Homepage carousel
A homepage video carousel works for discovery. New and returning visitors browse multiple clips, each tagged with its own products, turning the homepage into a storefront that sells rather than just greets. Keep it above or near the fold so it’s seen before the bounce point.
Collection and category pages
Videos on collection pages add storytelling to a grid of products. A clip showing how a category’s items work together — styled outfits, a skincare routine, a luggage set — lifts the average order value by nudging shoppers toward bundles.
Floating widget
A floating, dismissible video widget appears on every page and gives site-wide reach without redesigning any template. It’s the lowest-effort placement and a good way to surface video to visitors who never reach a PDP. See product-page video features for format options.
How do you tag products inside a shoppable video?
Product tagging is what makes a video shoppable — it attaches catalog items to a clip so they appear as tappable cards during playback. Done well, tagging feels like a natural extension of the video; done poorly, it clutters the screen and gets ignored. A few rules keep it effective.
- Tag the products actually shown. Only tag items visible or discussed in the clip. Irrelevant tags erode trust and lower tap-through.
- Time tags to the moment. Surface a product card when that product appears on screen, not for the whole video. Timed tags match buyer attention.
- Limit tags per clip. Two to four products per video is a sensible ceiling. More than that overwhelms the viewer and dilutes each tag.
- Keep catalog data synced. Tags should pull live price and stock so a shopper never taps through to a sold-out or mispriced product.
- Make the tap target large. On mobile, product cards need a comfortable touch area — small tags get missed.
The goal is one fluid motion from watching to buying. For a deeper look at interactive elements inside the player, read our guide to interactive video.
How do you measure if shoppable videos are working?
Measure shoppable video on revenue impact, not view counts. The metric that matters is whether video viewers convert better than non-viewers on the same page, and whether that lift is incremental. Most platforms report this in a built-in dashboard — track these four metrics from day one.
Engagement rate
The share of page visitors who play the video and how far they watch. Low engagement points to a weak thumbnail, poor placement, or a clip that doesn’t match the page.
Video-attributed add-to-carts
Add-to-cart actions that happen through a product tag inside the player. This isolates the video’s direct contribution to the funnel.
Viewer vs. non-viewer conversion
Compare the conversion rate of shoppers who watched the video against those who didn’t, on the same page. A consistent gap is the clearest signal the video is doing work.
Revenue per video session
Tie video sessions to order value so you can prove dollar impact and decide which clips to scale. More on metrics in our video shopping overview.
What results do brands see from shoppable video?
The lift is real and well documented. Independent studies show product pages with video converting up to 80% higher than those without, with most brands landing in a 6% to 30% range, per Invesp’s research. Consumers who watch a product video are up to 144% more likely to add that product to cart. Whatmore client data points the same way.
Across Whatmore-powered stores, brands have used shoppable video to lift on-site engagement and conversion: Petite Skin Co, Nish Hair, Nasher Miles, and Philips all run shoppable video as a standing part of their storefronts (Whatmore client data). The pattern holds because shoppable video compresses the path from interest to purchase — especially on mobile, which now drives roughly 59% of global retail ecommerce sales, according to SellersCommerce.
What are the most common mistakes when adding shoppable videos?
Most failed shoppable video rollouts trace back to a handful of avoidable errors. They’re easy to fix once you know them, and avoiding them is often the difference between a flat result and a clear conversion lift.
- Treating it as decoration. A video with no tagged products, or tags no one taps, is just a clip. Always make the path to cart obvious.
- Wrong video for the page. A brand-story video on a PDP misses the moment. Match the clip to buyer intent at that stage.
- Ignoring page speed. Embedding a heavy player that blocks rendering hurts both SEO and conversion. Confirm the platform lazy-loads and test Core Web Vitals before and after.
- Desktop-first thinking. With most traffic on mobile, vertical video and large tap targets are non-negotiable. Preview every placement on a phone.
- Launching everywhere at once. Going live on every template at once makes it impossible to attribute results. Roll out one placement, measure, then expand.
- Setting it and forgetting it. Refresh clips, retire underperformers, and keep tagging current as your catalog changes.
Ready to add shoppable videos?
Adding shoppable videos is one of the highest-leverage changes you can make to an ecommerce site in 2026: low effort to install, fast to measure, and directly tied to conversion. Start with one tagged video on your best-selling product page, measure viewer versus non-viewer conversion, and expand from there. See how Whatmore powers shoppable video for ecommerce brands on the shoppable videos page, or go deeper with the ultimate guide to shoppable video for 2026.
Ready to install? Try Whatmore free on your Shopify store — no credit card required.
Book a Demo →

